Natural light shot of a butterfly: you can view the exif by clicking the image. That'll take you to my flickr, then "More Properties" to view the full exif.
Edit: Flickr made changes to its page so in order to view exif, you need to click on the camera model in this line "This photo was taken on August 19, 2010 using a Canon EOS 40D" at the top right of the image page:
Another way is to click "Actions" then "View Exif Info"
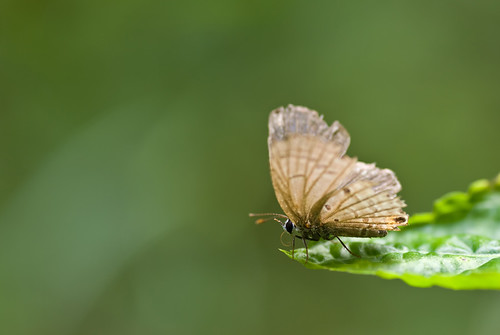
NL is free, of course :)and you get this nice, non-black background. There may not always be enough NL light to give you a decent shutter speed for a handheld shot at your required DOF, so a tripod might come in handy, or in fact, really necessary! Increasing the ISO is another option if you don't mind noise. More tips on natural light macro photography is here.
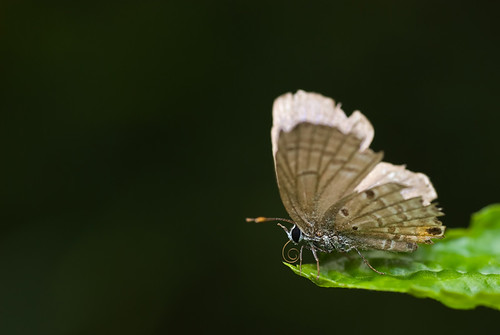
A full flash shot of the same scene. See the black background I was talking about? All light in the shot was provided by the flash. If there is no immediate bg, then it'll be black/dark. More on full flash macro photography here.
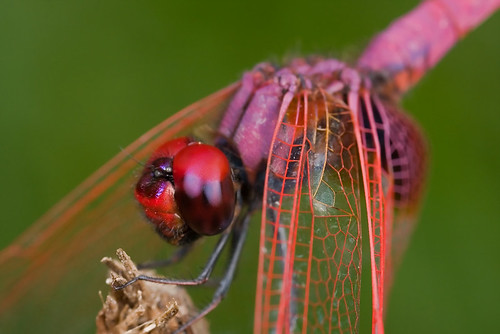
Sometimes a bit of fill flash is required to lift the shadow:
More on Full Flash vs Fill Flash macro photography here.
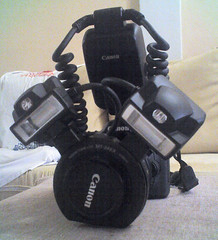
MR-14EX

MR-14EX
However, my friend Hisham figures out a way to diffuse ringflash nicely. Check out how he does it here.
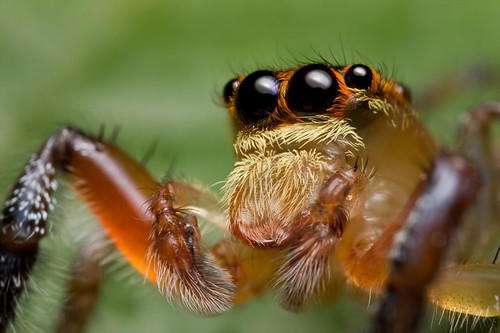
Now a sample shot from the MT-24EX

Note the twin reflection in the eyes. I toned down the twin reflection a little in photoshop.
MT-24EX
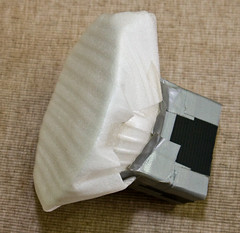
DIY diffusers for MT-24EX
(click image to go to my flickr where you can view notes on the images)
I have been using the Concave Diffuser for my MT24EX since February 2010 and extremely happy with the diffusion.
Before I bought the MT-24EX

Hakuba LH1 bracket on left and DIY Diffuser for 580EXII
(click image to go to my flickr where you can view notes on the images)
You can also get a foldable softbox like this on Amazon.

Now a couple of sample shots from a diffused 580EXII
Note there's no twin reflection and the light is softer/nicer.

Note the shadow below the eyes. The shadow issue can be more pronounced in certain shots depending on the shooting orientation and insect shapes.
I like the light from a diffused 580EXII
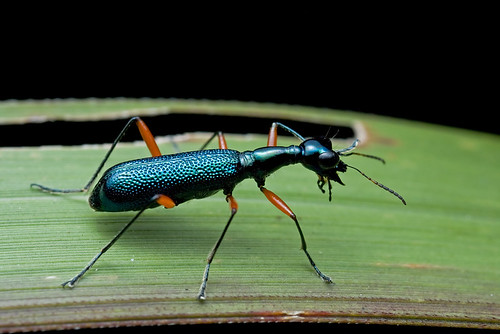
Now let's compare the shots of a similar reflective tiger beetles lit with a MT-24EX
A highly reflective blue tiger beetle lit with a diffused 580EXII
Now a similar shot lit by the MT-24EX

Note the harsher highlight. No shadow issue though.
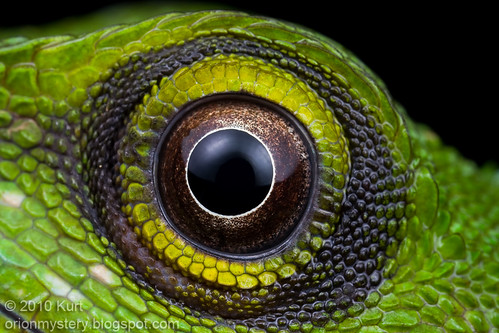
However, since the introduction of the Concave Diffuser, MT24EX lighting has improved by leaps and bounds. Take a look at this image:
Green crested lizard's eyes, shot at 1:1, MPE65 and MT24EX with concave diffuser. More info about the concave diffuser here.
Don't be intimidated by these fancy setups/gears though. You can shoot great macro with just the basic.
When i first bought my D80 and Tamron SP90
click image to go to my flickr where you can view notes on the images
Now a few sample shots with the diffused popup flash setup:
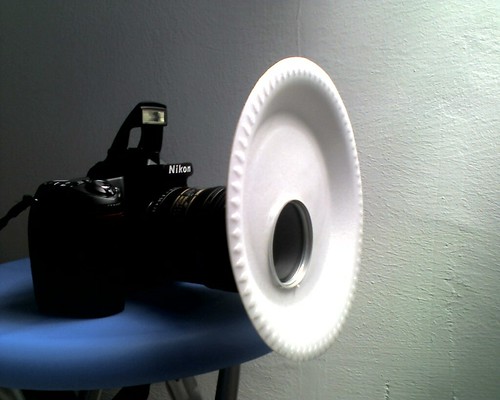
Another cost effective but more light efficient method I used before was this DIY Snoot Diffuser, which works nicely with speedlight. Check out this post for step by step guide on DIY Snoot Diffuser.

again, click image to go to my flickr where you can view notes
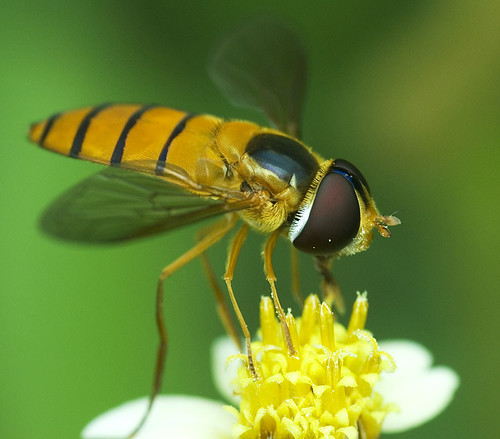
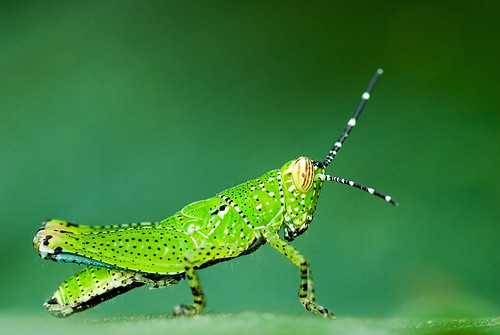
As usual, a couple of sample shots from this snoot-diffuser setup
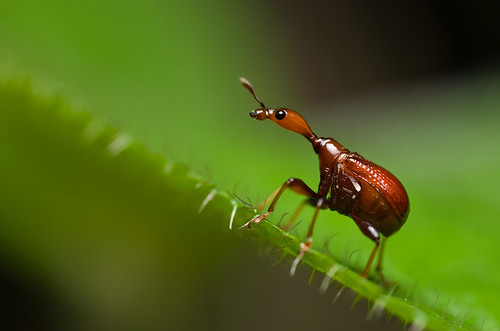
A lovely, female giraffe weevil..my favorite weevil

Yes, you do get a bit of shadow issue with the snoot-diffuser too. IMHO, i think this setup is good enough even up to 2:1. Beyond that, you should get a flash bracket or a dedicated macro flash.
As an Amazon Associate I earn from qualifying purchases.
Very useful write out~!
ReplyDeleteThanks for sharing! ^^
Thanks, Kevin :)
ReplyDeleteThis comment has been removed by a blog administrator.
ReplyDelete