If you missed the first part i.e. DIY Snoot-Diffuser / macro diffuser, it's here. If you are looking for DIY macro Diffuser for your MT24EX, look here.
Since the diffuser is designed for 1:1 situation and the angle not adjustable, you might face overshoot/undershoot issue when going above 1:1 or below 1:1. You can go beyond 1:1 by either adding a Raynox DCR-250
Here is how I did it.
a) The snoot-diffuser before I cut it
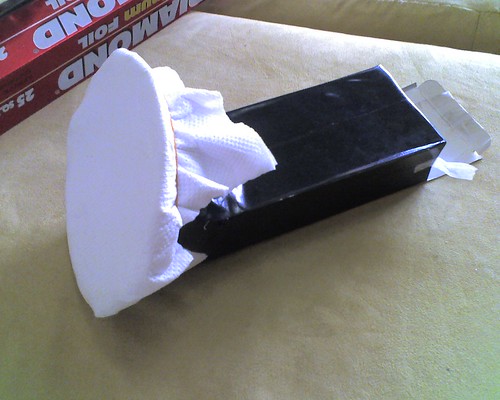
b) make a straight cut but make sure you don't cut the bottom part
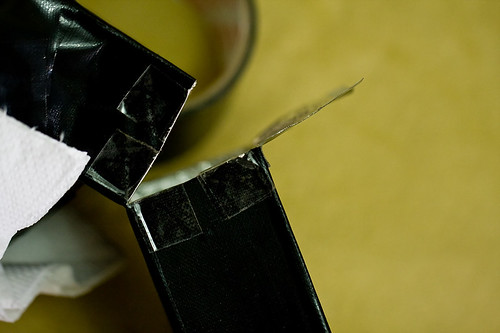
c) a closer look

d) I used the same black duct tape and added a flap like this, first on top, then on the two sides. These flaps are meant for preventing the light from leaking when you adjust the diffuser angle.
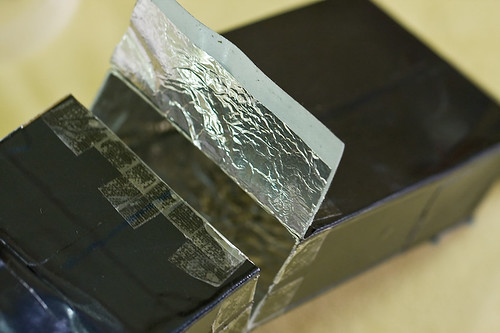
e) a closer look
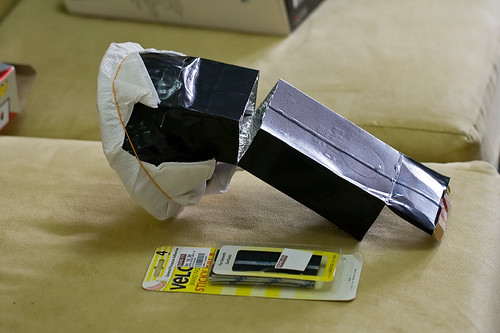
f)added some velcro to hold the snoot and the diffuser in place when you adjust the angle and you're good to go. I place the following two images side by side so you can see the difference in angle
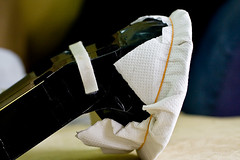
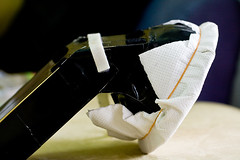
Yes, the one on the right is tilted more downwards compared to the one on the left.
g) now a bigger image

Just an idea - you can use moldable plastic to DIY an adapter that will fit on snugly to your flash head.

I'll be doing some field test and post a few images soon :)
Here is the DIY Snoot Diffuser - sample full flash shots.
Brilliant setup Kurt. Results look very promising. Who said you weren't an efficient DIY-er! :)
ReplyDeleteAnthony
Thanks Anthony. My 2nd time making one so it didn't take as long as it did last time :). But honestly, i do suck at DIY :D
ReplyDeleteMore result coming up soon after the slight improvement. I'll be posting the pix.
This is good, thanks for sharing OM!
ReplyDeleteThanks, bro Iswardy.
ReplyDeleteThank you very much, also I click on that Instamorph on amazon that sounds like some cool stuff. Really enjoy your photography!
ReplyDeleteThanks Roger.
ReplyDelete