The making of the DIY Snoot Diffuser is here.
How i further improved it to make the diffuser bowl adjustable to handle different magnification/working distance is here.
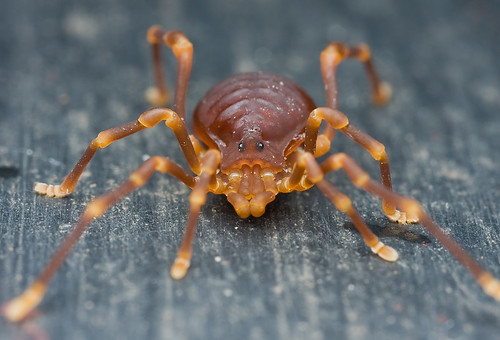
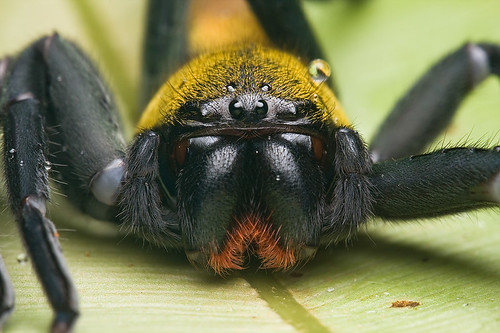
Now let's see a few sample shots from this DIY Snoot Diffuser with a Canon 100 f/2.8 L IS USM lens.
Typical setting used: 1/200, F13, ISO200, 580EXII with snoot diffuser

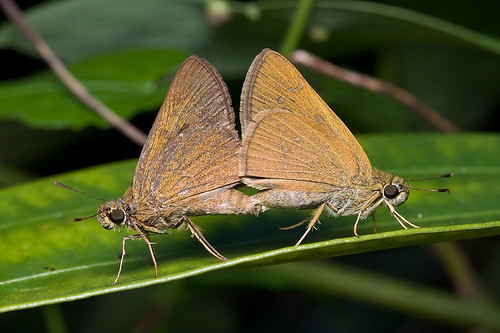

More sample shots at the bottom of this page.
For a cheap, DIY diffuser, this works really well and I am generally very happy with it. This should be a great way to start shooting full flash macro. Typical issue with this type of snoot diffuser has been discussed before in "A Comparison of Different Lighting Setups". You tend to get quite a bit of shadow under the subject's eyes. If you are reasonably good in post processing, you can alleviate this to a certain extent.
Now that you have read this DIY SLR macro photography tip, it's time to work on your own DIY Snoot diffuser :). Try it, it's really not that difficult to build one :)
Eventually, you should save up for a macro bracket. I've seen Kirk's Macro bracket and it's really good.
Nice! I particularly like the arachnid shots.
ReplyDeleteThanks Myrmecos :)
ReplyDelete