Natural light macro / close-up photography tips:
In this post, I will be sharing tips on shooting with natural light. Although all my shots here are macro and/or close-up shots, the same tips apply for non-macro photography as well, i.e. landscape, product, etc.
Note: for flash macro/close up photography, check out this
post.
I seldom shoot with natural light with my MPE65. Even at its minimum magnification of 1:1, it is very tough to get a sharp shot without flash. Besides, the working distance of 4" makes it a real pain to set up a tripod. Not many insects are willing to put up with you while you set up a tripod just 4" (MPE65's maximum working distance) away from it, are there? Nevertheless, I have seen quite a few great NL shots with the MPE on Flickr and some forums. Most were done with slightly higher ISO and with the aid of bean bags.
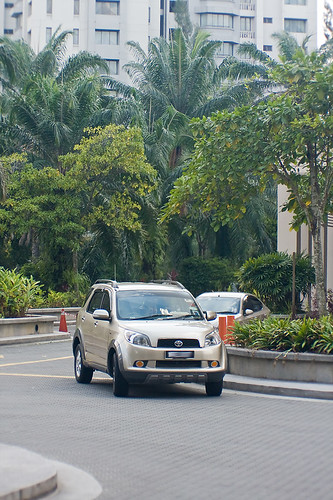
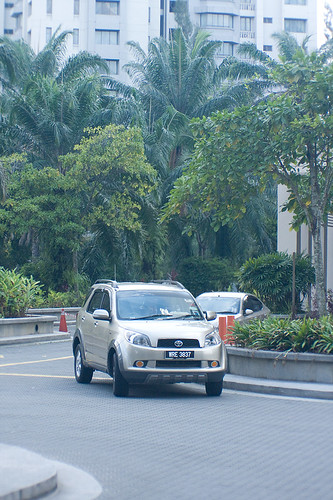
With a longer lens, however, it is a different story. The longer working distance will allow me to set up my tripod comfortably without spooking my macro subjects. You will also get this wonderful bokeh that shorter focal length can't provide.
Natural light macro/close-up is best done in the early morning and/or late afternoon when the quality of light is good, or when you are under shades or canopy that shields out harsh, direct light.
When I shoot with natural light, I almost always use the Av mode. I decide what aperture I want, which is normally F11 (or higher when i am greedy for more DOF and the background is not too distracting), and let the camera's light meter decide the shutter speed. I normally set the ISO to 200. ISO100 is preferred but when it is windy and the subject moves a lot, ISO200 will mean half the exposure time and higher chances of sharper shots.
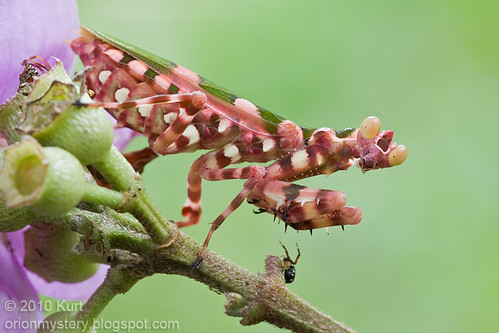
Theopropus elegans, 40D, Sigma 150, tripod,
reflector, 1/10, F11, ISO200, 2 second timer
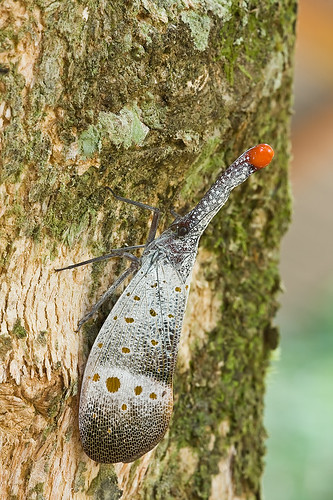
 Laternaria ruhli
, 40D,
Sigma 150mm F/2.8
on
tripod
. 2 seconds, F14, ISO100, tripod, natural light, w/o reflector, 2 sec timer
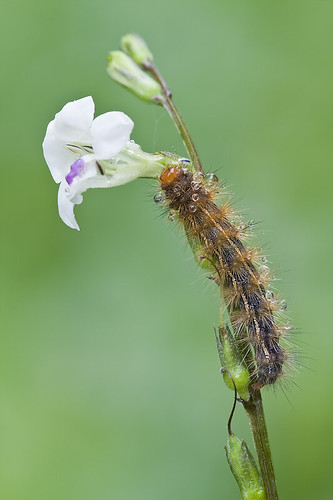
Wet caterpillar.
Shield bug nymph.

Another caterpillar, a hairy one.

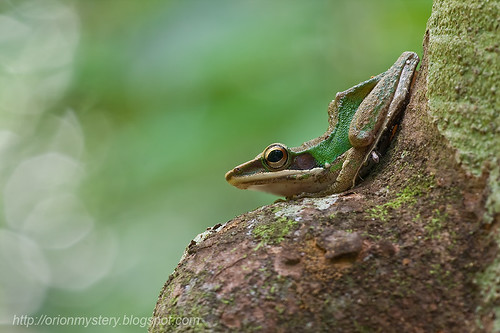
White lipped frog.
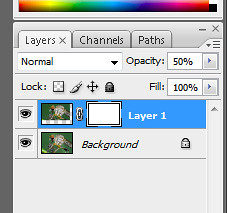
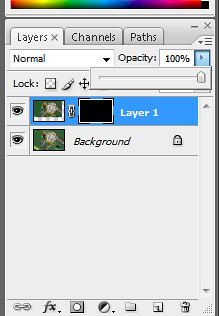
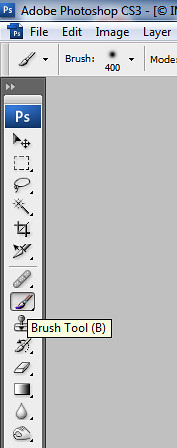
Green crested lizard, stacked from a few handheld shots.
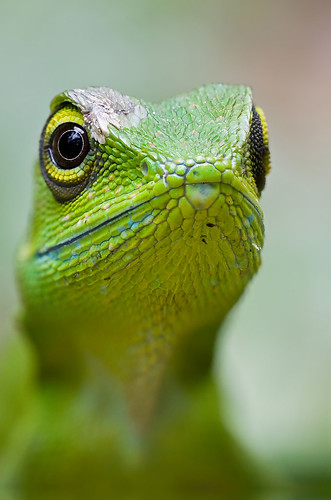
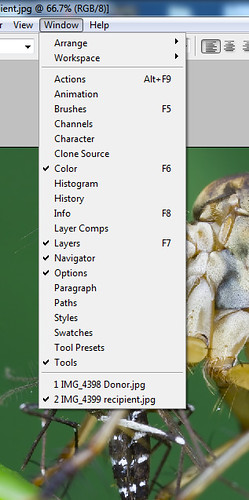
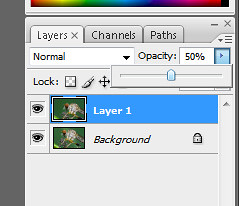
I used CombineZ freeware for the
stack but I am really not very good at that. Most of the times, I do
manual stack. However, since upgrading to CS5 in May 2012, I have been doing my stacking in CS5.
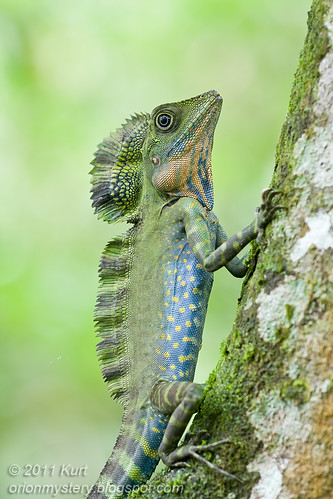
Handsome male great angle head lizard,
Gonocephalus grandis.
More about these fascinating lizards
here.
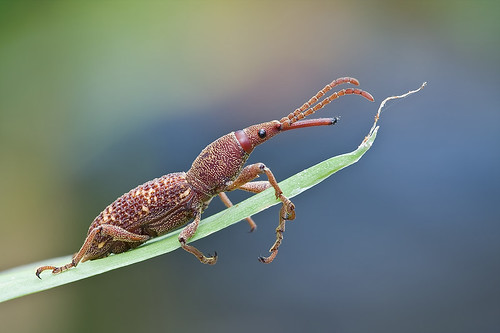
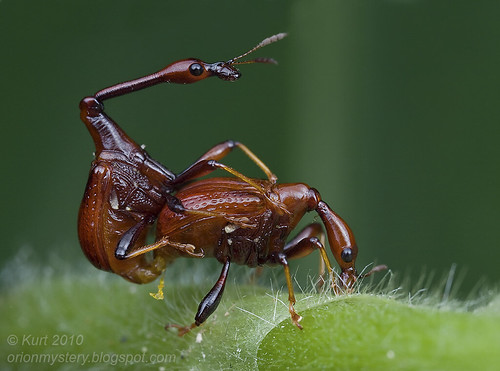
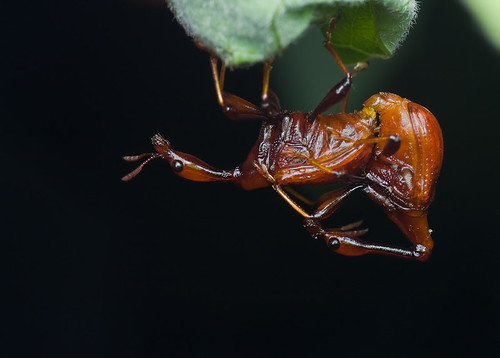
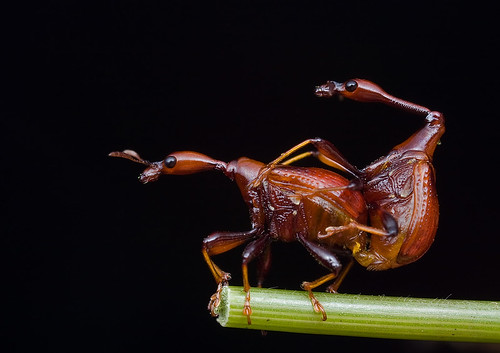
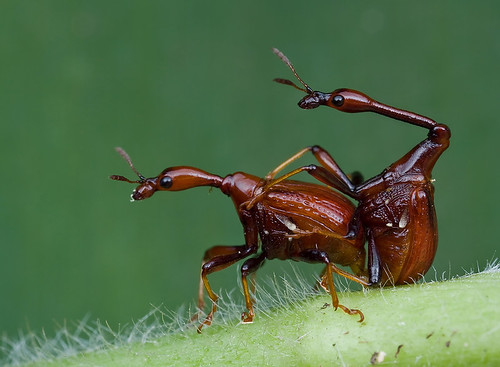
Weevil
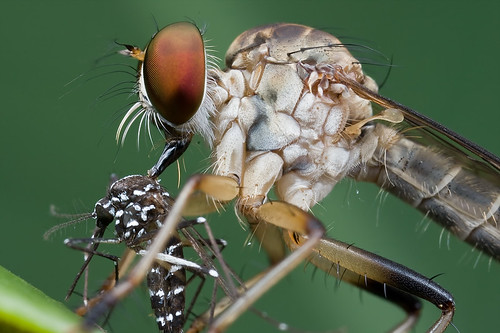
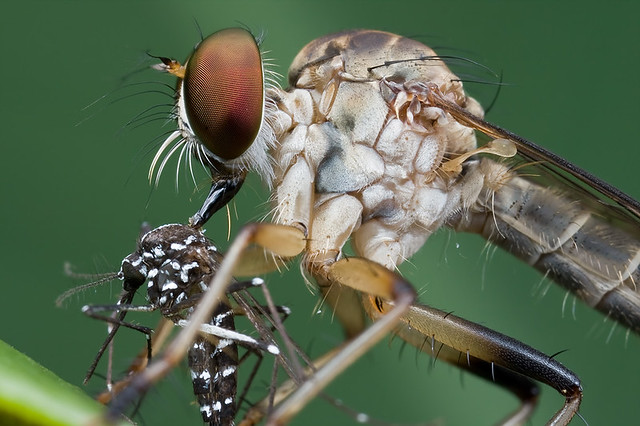
Robber fly with prey
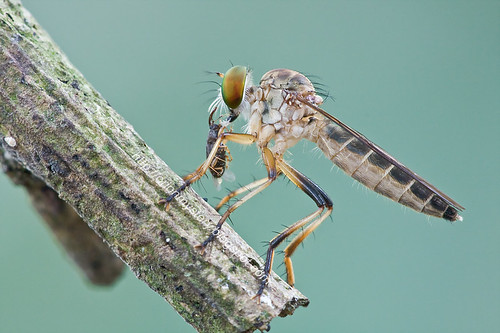
More robber flies
here.
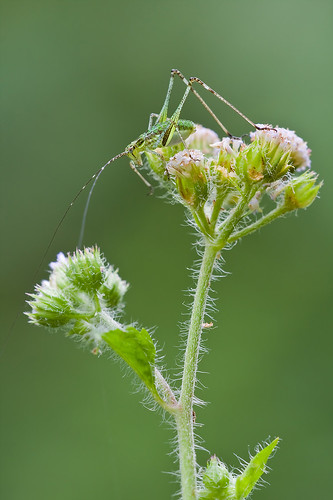
Katydid nymph on a wild flower plant
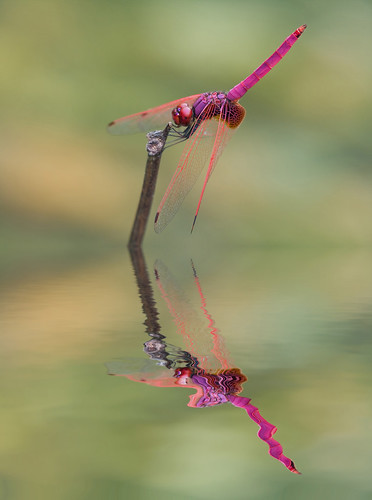
Male Dragonfly, Crimson dropwing (
Trithemis aurora)
Here's an slr macro photography tip i've discovered:
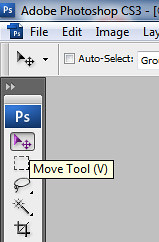
I mounted my 40D and Sigma 150 on a tripod using the tripod collar instead of the camera base. I focused manually by using the viewfinder. After that i turned on the Live View before i pressed the shutter to activate the preset 2 secs timer. Using the timer is a cheap but effective alternative to a cable release.
Why manual focusing via the viewfinder and not via 10X zoomed in Live View?
The 10X zoomed in view on the 40D is just not great for focus confirmation because the LCD on the 40D has only 230,000 dots. On those with 920,000 dots (or more) like 5DM2, 7D, 60D, 550D, it's great though. The use of the Live View is a real battery drainer though so be prepared.
Why Live View then? Well...to get the Mirrors up (
MLU) in order to avoid mirror slap vibration that will ruin sharpness at low shutter speed...in the region of 1/50 to 1/2 second. Please also check out "
Live View and Mirror Lock Up" on Juza Forum to find out if you have the right type of Live View that replaces MLU.
I also re-focused and repeated the whole process again to ensure i get at least a few reasonably sharp images. Repeat this process for as many times as possible until you're confident that you are going to get at least a couple of sharp shots. The subject might have moved a little bit without you knowing it. It could be the antennae, the mouth parts, the legs. Movement due to wind is another factor to be considered.
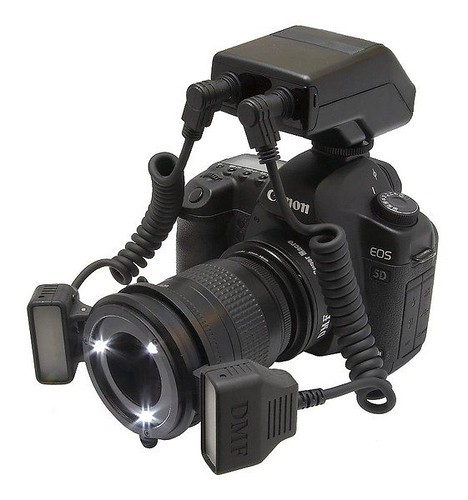
Here are few accessories that will come in handy when shooting with natural light.
A plamp. Use it to clamp onto branch/perch to cut down wind movement, or to hold a green leaf to avoid black background in full flash macro photography! Use your imagination :)
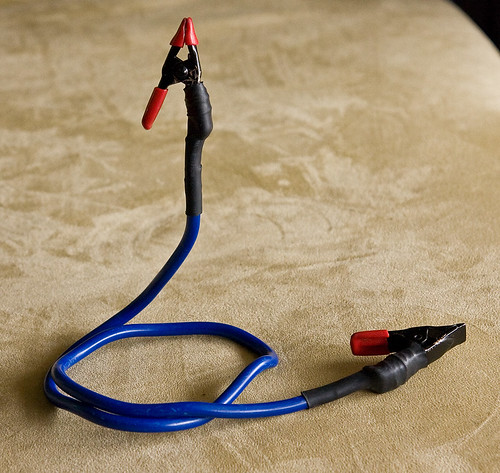
You can find out on how to DIY your own plamp
here.
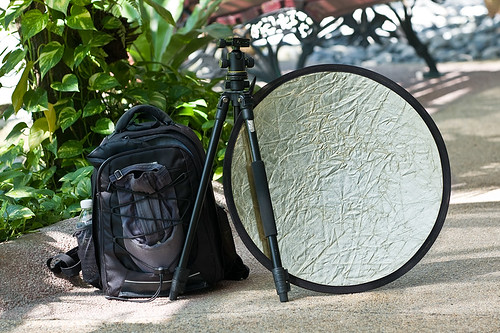
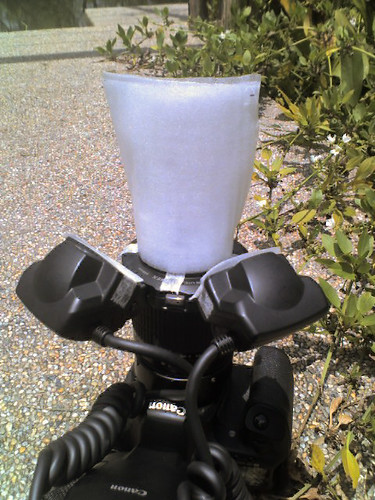
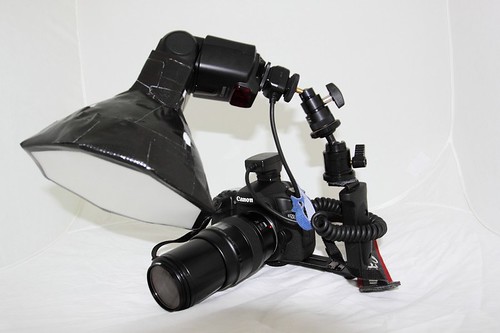
Reflector and tripod. I normally use only the silver side. Sometimes, when you have to shoot under direct and/or harsh light, a diffuser will help a great deal, as explained in this
post.
Never underestimate the power of a simple reflector. This image, for example, would have been terrible because of the strong backlighting, but with the help of a reflector, we could throw in some light onto the subject. Still not great but at least I got a decent shot there! For more info on the use of reflector in natural light macro photography, check
this out.

If you really must know what else I have in my camera bag, check out "
What's in my bag" :D
If i shoot NL without a tripod, I sometimes raise the ISO to as high as 800, maybe 1000 but not any higher, and lower the F number to as low as F6.3, and set the drive mode to Continuous H mode (6.5 fps on the 40D). I will also capture even more shots than with a tripod.


